Monday, September 22, 2014

Three Perfect Mushrooms

Hi Eveyone,

How are you all today??

Today I took the coolest class at Simply Said Rubber Stamps in Loveland, Ohio,  The Stylish Stylus, was one of two classes taught by Peggy Jo Ackley of Pink Ink Stamp Company. This class taught us how to create fun patterns and add great borders with a stylus tool and colored pencils.This embossing technique really is a great way to embellish stamped images. I was so amazed at the results. Hmm... you may see more from me using this unique technique.

Here is the stamped image that I started with.
By the way, this stamped image is one from the many stamps available 
from Pink Ink Stamp Company. Check out Peggy's wonderful stamp selection. 


 Here is the same stamped image after I had finished embossing and coloring. 

See all the white lines and designs that appear on the mushrooms?? I added the designs using a stylus.After I drew in the designs the next step was coloring using colored pencils.After you color then your designs will become visible. Pretty cool!!

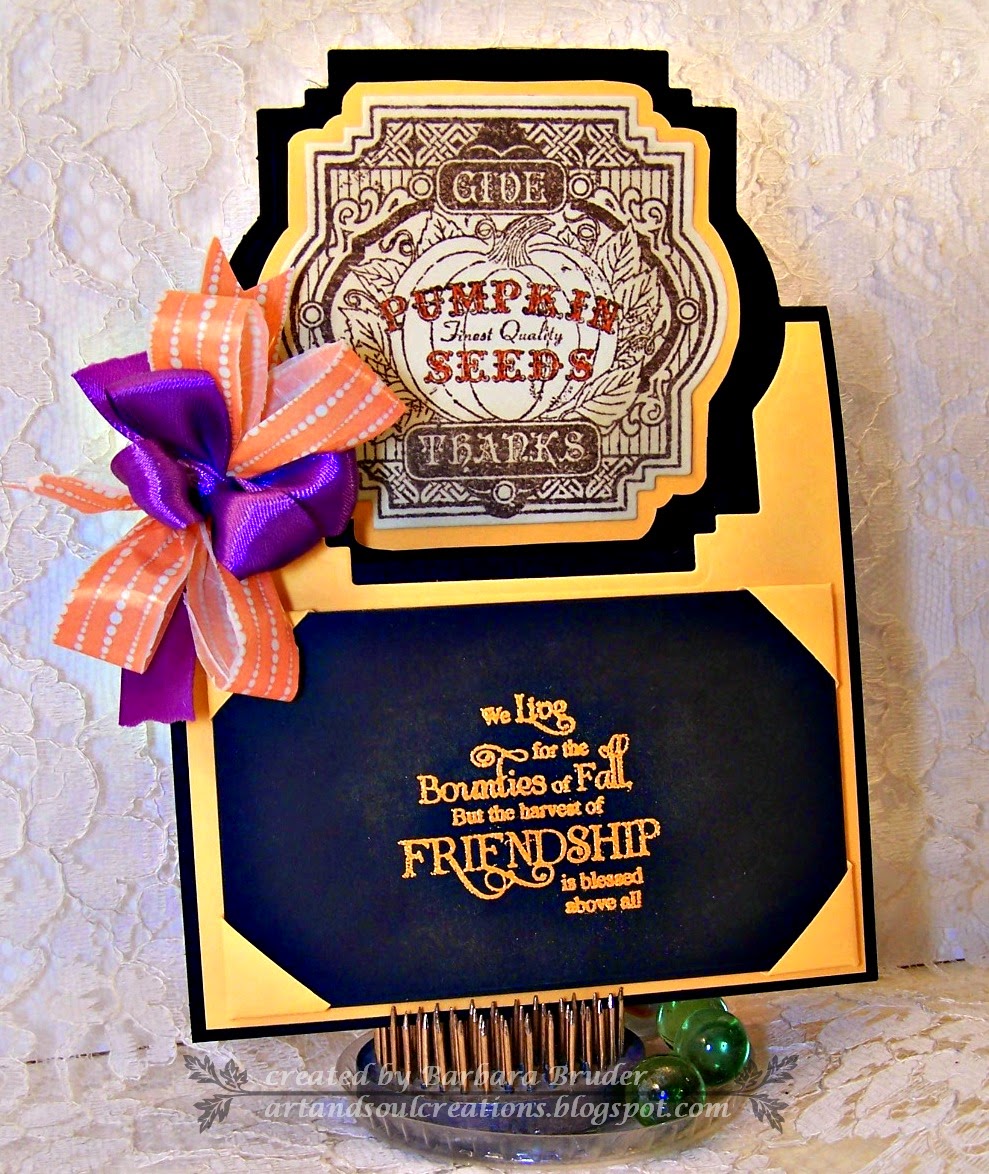
Let me share the completed card I made using the stamped image after it was embossed and colored.


If you ever have the opportunity to take a class from Peggy Jo Ackley, do so, you will not be sorry. I loved this class and am already looking forward to her next visit. 


I am adding this card in the following challenges:

That's it for today.

See you soon

Sunday, September 14, 2014

Thank You

Hi Everyone,

Well it's Sunday nite and the new week has already started September seems to be on a rampage, going by so quickly. Last month was the annual stamp convention here in the Cincinnati area. I picked up a few new stamps at Stampaway this year, and here is one of those images.


I just fell in love with this winged diva. She is gorgeous isn't she.

I decided that those wings really needed some dimension so I stamped and colored another pair and popped them up with dimensional foam.  


I added some yummy lace behind the bottom of the stamped diva image 
however it is somewhat hidden behind the double bow 


That's it for now
Have a great week
Thanks for stopping in today.

SUPPLIES USED ON MY PROJECT
Stamps: Lost Coast Designs - Winged Girls
Paper/Card Stock
: White CS, DP, Gold CS
Ink: Distress Ink - Old Paper, Black Soot; Distress markers
Dies: Spellbinders - Ribbon Tags S4-323
Accessories:Hug Snug  Seam Binding Ribbon, Distress Markers, Craft-Dee BowZ  tool, dimensional foam

I am submitting this card to the following fabulous challenges:


Friday, September 12, 2014

Pumpkin Seeds

Hi everyone
Thanks for dropping in today.

I know that sowing seeds is generally a spring activity, however I decided to make this a fall retro image, especially since the seed packet label is for pumpkin seeds.

The bow probably looks familiar to you, well, I had made a few when I tried out the technique of making a bow using my Craft-Dee BowZ tool and using Washi Tape instead of ribbon. Yep, it works. Now I will be using my Washi tape more often. The purple in the dual colored bow is ribbon, but that dreamy orange sherbet stripped "ribbon" is the Washi Tape.And who would have have thought.

Want to see how this is done, (I know you are just dying to see how it is done).Click here and check out the video Donna Maligno has made.Washi Tape bows are easy and pretty, too.


 Just love this autumn stamp set from JustRite. They have some yummy stamps and this one was yelling at me to be used, so I did.

SUPPLIES USED ON MY PROJECT
Stamps:  JustRite -Autumn Labels Twenty-Two, Shabby Chic Autumn Leaves (sentiment)
Paper/Card Stock
:Orange CS, Black CS, Cream CS
Ink: Distress Ink - Antique Linen, Walnut Stain, VersaMark
Dies Used:  Spellbinders Labels Twenty-Two S4-346
Accessories: Washi Tape, Ribbon, Orange EP, Dimensional Foam

I am submitting my card in the following challenges:

Thanks for stopping in today, have a wonderful week, see you soon.

Monday, September 8, 2014

Have a Wonderful Christmas

Hello Everyone,
Hope you are having a wonderful week so far. The card I am sharing today is another card from my Card Shop card class held in August.

This card design is known as a Double Dutch card. And this design is super easy to make.

I thought the design would  make the cutest Christmas card. I know, I know we just entered September and I am already doing Christmas cards. Well the holiday season will be here before we know it.

Here is the card closed
Here is the card opened (2 views)


This is a fun card to make and to send.Closed this is an A-2 card size.

Here are the dimensions to cut:
Main card piece - 9" X 4 3/16"  score @ 5 1/2"
Gate fold piece 2" X 8 1/2"  Score @ 2 1/8" and 6 3/8"
Top panel 4" X 3 1/4"
Gate Fold Panels - 1 7/8" X 1 3/4"
Inside panel - 5 1/4" X 4"
The gate fold piece attaches on the back side of the card at the bottom and then wraps to the front and folds.
Add the panels and decorate.

  Try this unique shape card. I think you will like it.

SUPPLIES USED ON MY PROJECT
Stamps:Heartfelt Creations Bright Christmas Sentiment ;Snowman - WhipperSnapper Designs - Stanley 
Paper/Card Stock
: Blue CS, White CS, DP's
Ink: Memories - Black, Memento - Grape Jelly
Dies Used: Spellbinders Circle die
Accessories:Glitter, MS snowflake punch, doily, markers, Glue Pen

I am submitting this card to the following challenges:


Have a great week. See you soon,


Tuesday, September 2, 2014

Off to Paris

Hi Everyone,

Thanks for dropping in today. It's time for my ususal 1st Tuesday of the month post for Craft-Dee BowZ. This month the theme is pearls and lace, and I used the most gorgeous green pistachio colored  lace. I also recently received a Memory Box Eiffel Tower die, so it's "Off to Paris" for my project today.

Lately I have purchased a few stamp sets with a Parisian theme. If you are like me, you get one set, it has cool images, then weeks later you see another set with something else that peeks your interest , along the same theme of course and now you have 2 sets in that same theme, different stamps, same theme. Well needless to say I now own 3 Parisian themed stamp sets. LOL Maybe I need to take a trip there.

Let me share with you my project.


The stamps are all from 7 Gypsies/Hampton Arts and are from an older set that is probably no longer available.However the stamps are just perfect for my Parisian theme today. That Eiffel tower was cut using silver CS and I used Vintage Photo Distress Ink on the stamps.

The lace......... How fabulous is this lace. I have some more and will use again, hopefully soon. However I love it so much I just want to hoard it. I just want to look at it, and touch it. LOL I'm sure you know what I mean.

For this project I got out my needle and thread and gathered the lace right down the center. Next, I sewed a cream crocheted lace strip over the center. Then I wove the green seam binding ribbon thru various open areas in the crocheted lace. Next I made a 4 loop bow using the green seam binding and attached it to the end of the ribbon I wove thru the crocheted lace. And lastly I added a" ribbon candy" bow using cream seam binding ribbon to my fluffy bow. I felt I needed to break up all that green. Oh so yummy is that lace and seam binding.


The bow is made using the Craft-Dee BowZ tool. This is the tool that makes bow making quick and easy. Order yours today here.


SUPPLIES USED ON MY PROJECT
Stamps: Hampton Arts for 7 Gypsies - Bike & Journal- set # SC0512;  Paris, Ticket & Oval  set #SC0503 (no longer available) 
Paper/Card Stock
: Cream CS, DP, silver CS, Dictonary page piece
Ink: Distress Ink - Vintage Photo
Dies Used: Memory Box - Eiffel Tower
Accessories: Hug Snug - Seam Binding 
Ribbon, Lace, Pearls, Hat Pin, Craft-Dee BowZ  tool, dimensional foam

I am submitting this project in the following challenges:

Monday, September 1, 2014

Memories

Hi Everyone

Holy Cow!! It's September 1st  already and fall will be here in no time flat!! School has already started here and probably most everywhere else, by now.

Speaking of the first of the month, it's time for the September challenge over at Craft-Dee BowZ. The theme is always "anything goes with a handmade bow". Hope you will submit a project this month, you could be the next winner.

Recently,I saw this design out on Pinterest and just had to try it. Not hard to do just a tad tricky and I am sharing the link to take you to Eileen Godwin's blog with her fabulous instructions. Hope you try
this card design out for one of your cards


 Craft-Dee BowZ sells the best bow making tool on the market and my orange sherbet colored bow was made using the CDB tool. For this bow, I used Washi Tape instead of ribbon. That's right, washi tape. I love the fact you can use Washi tape to make a bow. There are so many fabulous designs out there in Washi tape, now you have one more product besides ribbon to use to make a beautiful bow. Click here to watch Donna's  great video to walk you thru how this is done. It's really so easy.


Here is another view that shows the card design and bow from a different angle.


SUPPLIES USED ON MY PROJECT
Stamps:  7 Gypsies by Hampton Art (Sorry no name on the set, set #IC0149)
Paper/Card Stock
: White, Purple, Celery Green
Ink: Memento - Grape Jelly
Dies Used: Memory Box - Woodland Branch, Blushing Bouquet
Accessories
Washi Tape Craft-Dee BowZ  tool, glue Pen, Glitter

I am submitting this project in the following challenges:


Stop back tomorrow for my regular monthly Craft-Dee BowZ post.
We will be taking a trip to "Gai Paris" (as it's written in Paris).